
When I started building iOS applications in swift, I was struggling to hard code everything by myself. I am not saying that this approach is bad but it is very time consuming especially when working in big projects. I am listing some of the extensions which have helped me during the software development journey.
NSLayoutHelper Extension
This is a great extension about objects such as buttons, views, text-fields, labels, images positioning. It is incorporated in the constraints and it helps resize the constraints based on different iPhone screens.
Usage:
Download and include the swift files from the source online. Then click on one of the constrains in the main.storyboard. Click in the Identity Inspector and type NSLayoutHelper in the class part.

Once the constraint is connected with the specific class, go to Attribution Inspector and a list of Layout Helpers will be shown. Based on different screens, the constraints can be adjusted accordingly.
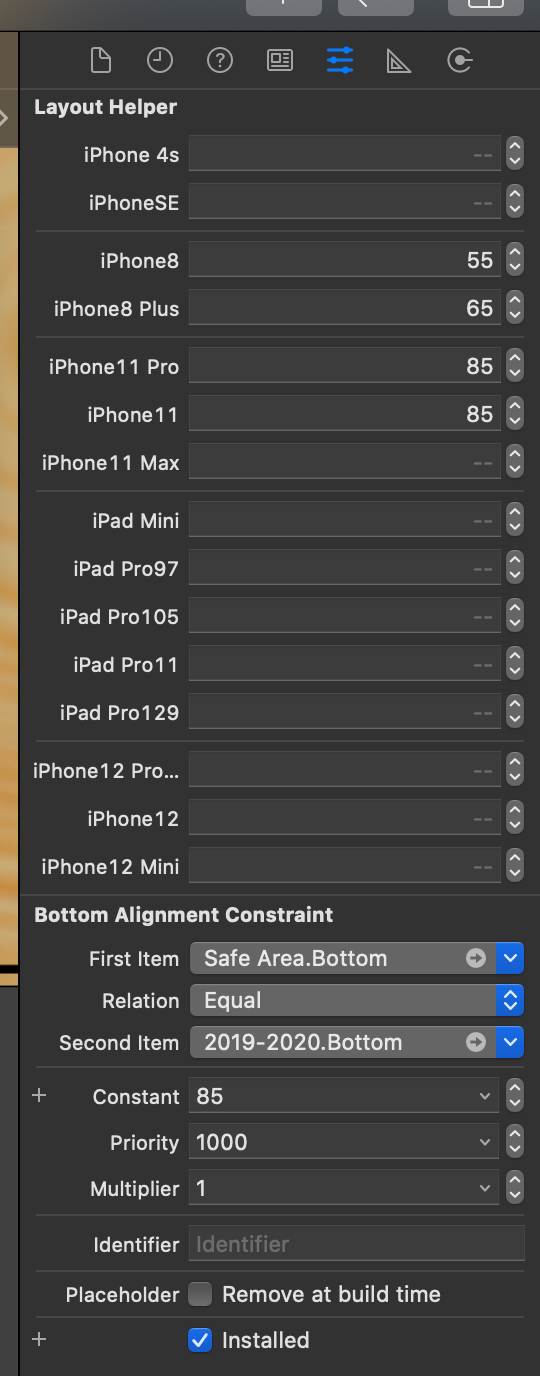
Unfortunately the extension doesn’t come with the newest iphone screens. Although this little problem can be solved easily by following the extension logic in the swift files.
SegueFromRight
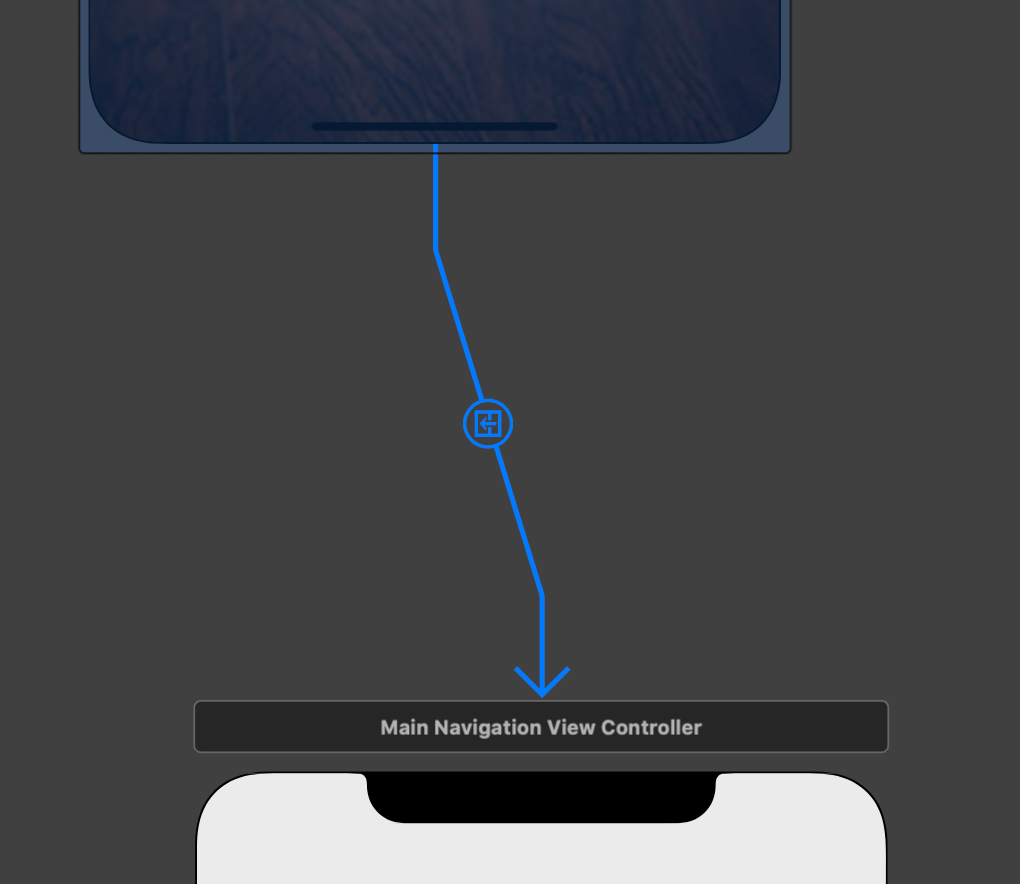
Since the new update of Xcode and the new version of the iOS, the new view controllers are showed from down-up when views are connected via segues.In case you are looking for a right to left movement between screens this extension might come in handy.
SegueFromLeft
This extension is the opposite of the above one. It has the same functionality but in this case the view movement between screens will be from left to right.
Usage:
Click in the segue and go to the Attributes Inspector. In the Storyboard segue class add either “SegueFromRight” or “SegueFromLeft”. Follow the pictures 3 and 4 below.

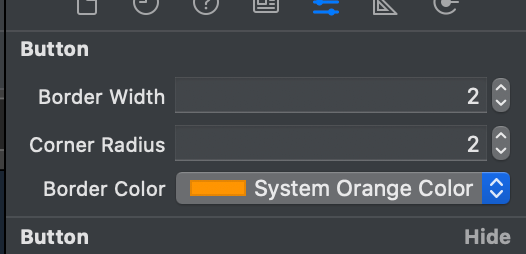
UIButtonBorderSide
In case you are looking to make a fancy red color rounded button with a clear background, this extension will make it easier. You can totally hard code this style but it can get hectic if a single viewcontroller has minimum of 7–8 buttons.
Usage:
Once this extension is implemented in the project, it will be reflected in the Button Attributes Inspector. You can adjust the corner radius, the color and the border width accordingly.
UImage Extension
This extension will help with resizing the image and make it fit especially for the small dimensions. It is a very helpful extension also when used for the images pulled from the backend. It renders the image in the format needed to be shown.
Usage:
Download and put the extension swift file in the project. A good way of using this extension is represented in the picture below.

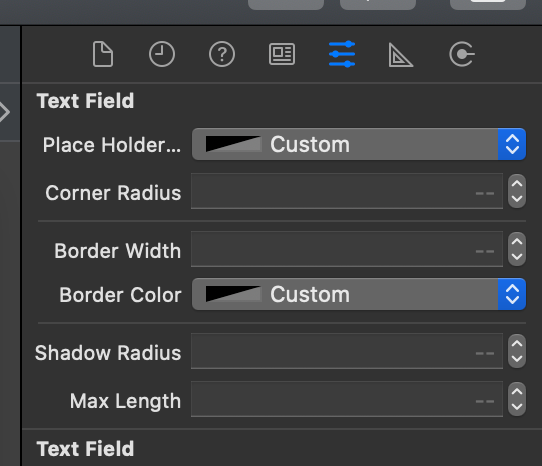
TextFieldExtension
I came across this extension when I was looking for a way to dim the opacity colour of the placeholders. It happens to be one of the cool things I came across because ever since then, I have used it in most of the applications. This extension was helpful especially during the time when Apple introduced dark mode. Unfortunately I don’t remember where I firstly found this extension that’s why I have just uploaded in my github.
Usage:
After the extension is added, there will be extra fields show in the Text Field Attributes Inspector. Check the picture below.
Thank you for your attention!
Happy coding!