
If you are new in Swift programming look at cocoapods as the npm in NodeJs or React. Just like npm, Cocoapods is a dependency manager for Cocoas projects.
CocoaPods manages library dependencies for your Xcode projects.
The dependencies for your projects are specified in a single text file called a Podfile. CocoaPods will resolve dependencies between libraries, fetch the resulting source code, then link it together in an Xcode workspace to build your project.
Ultimately the goal is to improve discoverability of, and engagement in, third party open-source libraries by creating a more centralised ecosystem.
source from https://guides.cocoapods.org/using/getting-started.html
1. Install CocoaPods in your PC
Please keep in mind that cocoapods is built with Ruby so it will require a sudo default command. Open your terminal and press:$ sudo gem install cocoapods
Congratulation! You just installed cocoapods in your pc but that doesn’t mean you will get that automatically in your project.
2. Install Pods in your Project
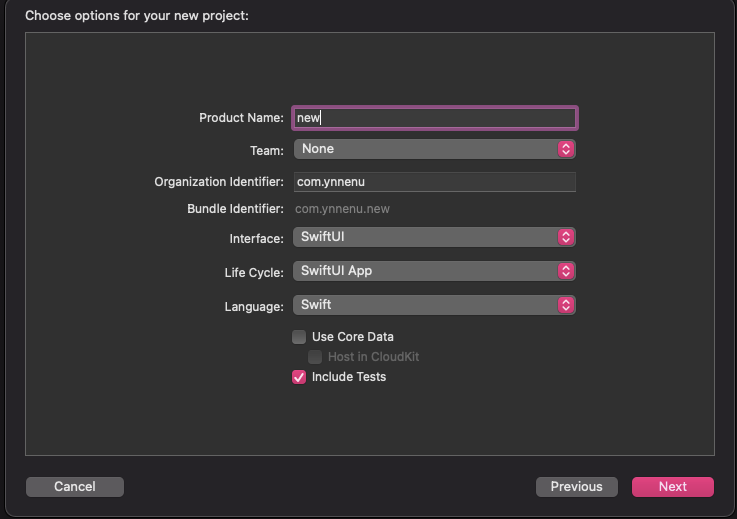
For the purpose of this mini tutorial we are going to create a new empty project and we are going to save it in Desktop. Please remember where you save the project because it will be useful in the next step.
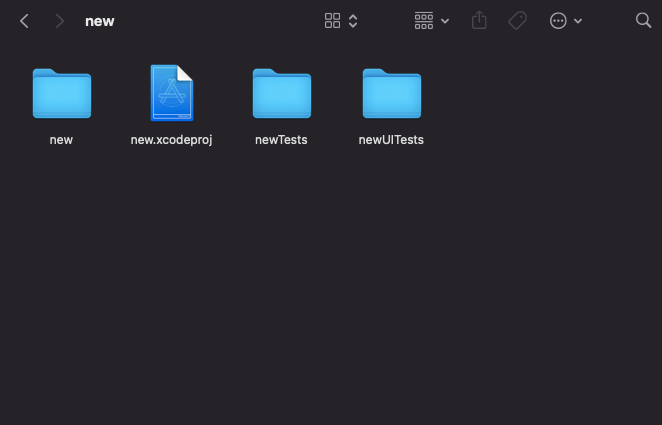
If we go to our project folder, it should look like the Figure 2. Our project is saved on .xcodeproj extention.
Now, we are going to our terminal and accessing our project folder from there.

PRESS:
$ pod init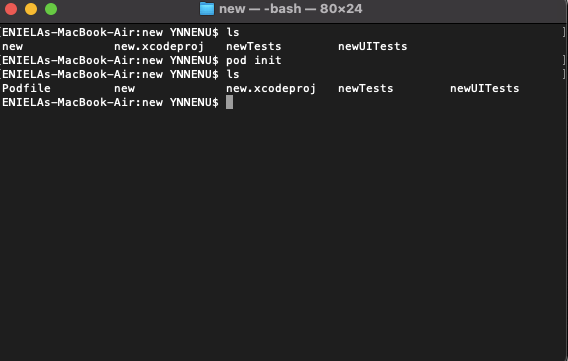
We are going to see that after pod init command, it is created a new Podfile.
Go ahead and open that file either through terminal or through folder finder. The file inside will look more or less like figure 5. Lets just add a new pod in the file. For this example we are going to use Alamofire. Press inside the Podofile and save the file.
pod Alamofire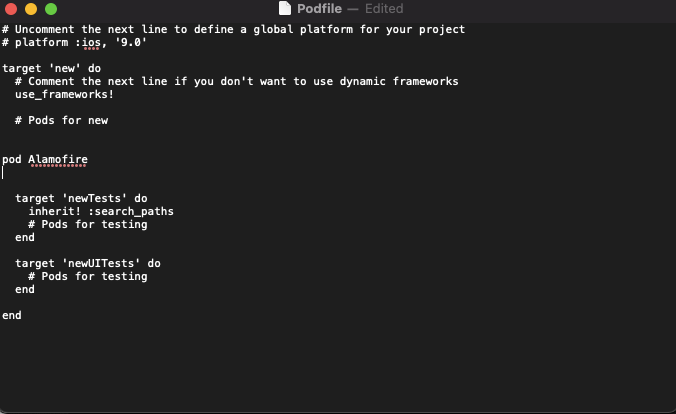
You can also use:
pod 'Alamofire', '~> 5.2'This way you specify what version of Alamofire you would like to install.
Back to the Terminal and Press:
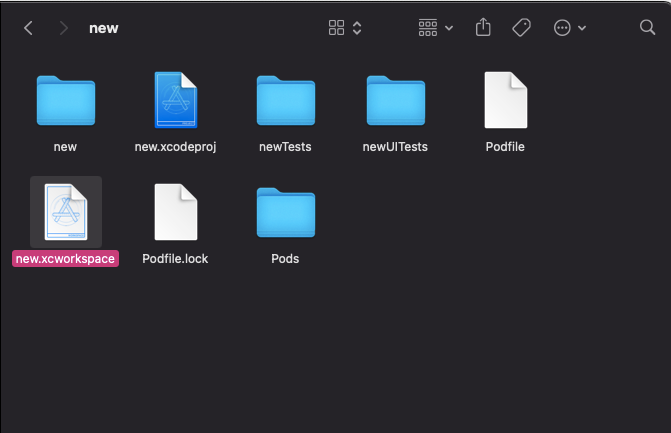
pod installBe patient until the pod is installed. Once it does install successfully, make sure to close the project in Xcode and open the .xcworkspace (Figure 6)
Congratulation! YOU MADE IT!
Thank you for your attention!